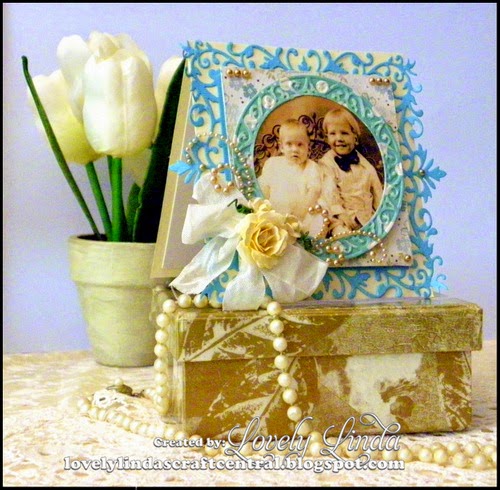
Hello friends - I am sharing a Spellbinders Step by Step Tutorial today that shows how to use your Dies differently - I always love to get more than one use out of a product - and using this Die for embossing gives it 'an edge' - follow along on the tutorial to see how it is done....and let me know what you think!
- S2-150 Heart & Flutter
- S4-137 Classic Scalloped Hearts
- S6-022 Grate Effect
- Spellbinders® Grand Calibur® Die Cutting and Embossing Machine
Cross Promotional Partners:
- Scrapbook Adhesives by 3L® - E-Z Runner; 3D Foam Squares
- Want2Scrap©: Baby Bling - Silver Rhinestones
- Imagine Crafts/ Tsukineko Memento Ink in Rosebud
Other: Black, White and pink cardstock; Mulberry Roses; Seam Binding; Dark Pink Velvet RicRac
Directions:
1. Place S6-022 Grate Effect onto the base plate with cutting blade up, then white cardstock.
2. Add tan mat, followed by the pink Embossing plate.
3. Run through the Grand Calibur - this will emboss the pattern of the Die NOT cut it.
4. Cut one (1) Heart & Flutter using white cardstock
5. Cut one(1) Classic Scalloped Hearts in pink cardstock
6. Adhere the Heart & Flutter Diecut to the pink Classic Scalloped Heart using liquid Glue.
7. Pop embossed Grate Effect onto black cardstock using Scrapbook Adhesives by 3L® - 3D Foam Squares
8. Adhere Ricrac using liquid Glue across the lower portion of the card.
9. Adhere the layered heart across the ricrac using Scrapbook Adhesives by 3L® - 3D Foam Squares.
10. Sponge the butterfly using Imagine Crafts/ Tsukineko Memento Ink in Rosebud and adhere using Liquid Glue
11. Adhere Paper Rose to the center of the layered hearts, using liquid Glue.
Thank you for your comments and all of the support you give me - you make blogging such an amazing place to be!! Your encouragement is such a blessing for me - it makes my day! God bless you!
{{{Hugs}}}


