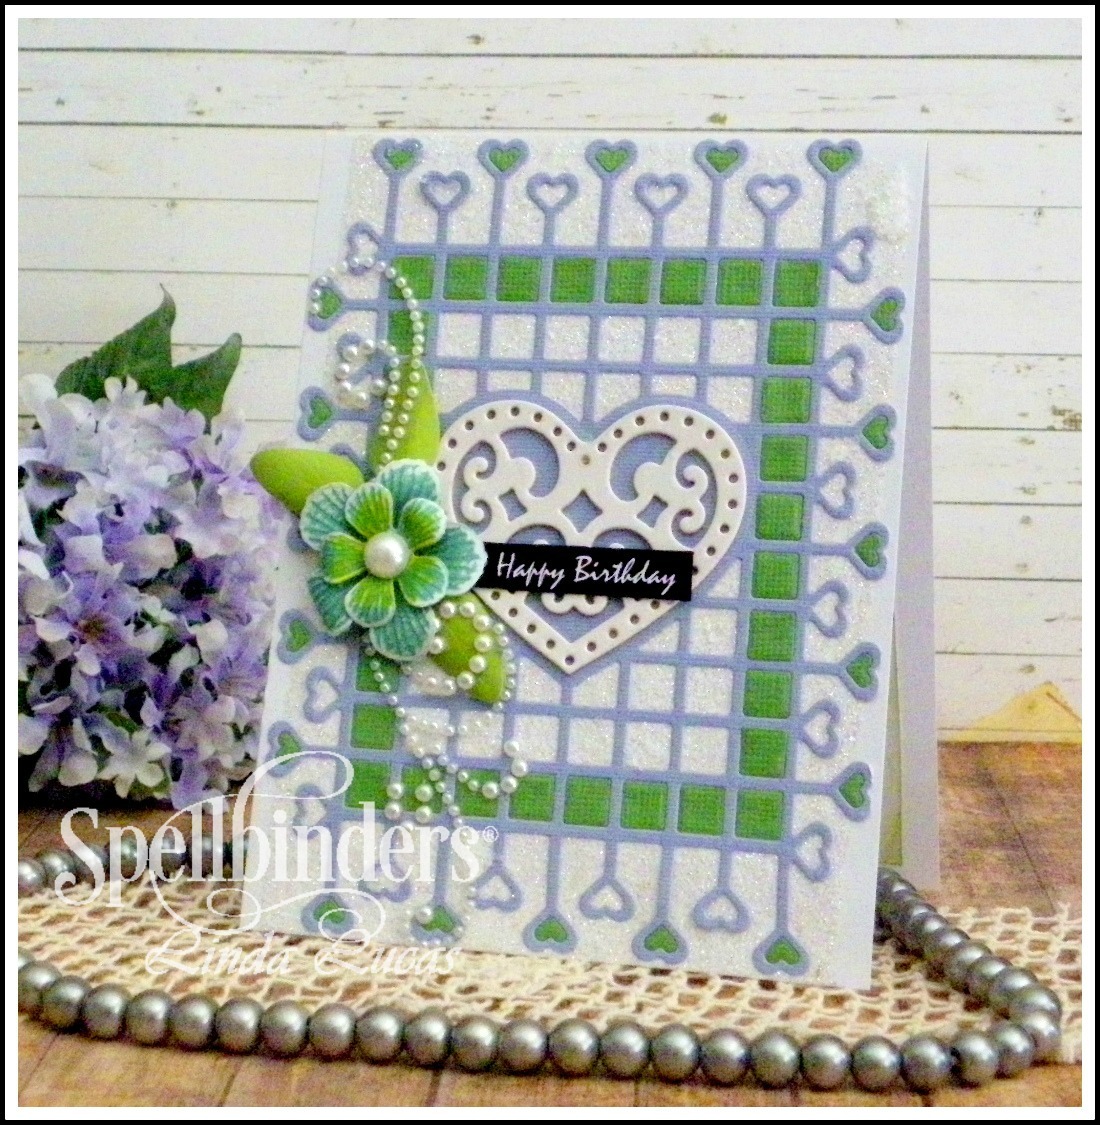
After a quiet week on my blog due to the family coming down with a nasty flu and virus, I am happy to be back and sharing a tutorial for Spellbinders using the Framed Floral Card Front by Marissa Job and the Daisy Die D-Lites.

As you will see on my tutorial Spellbinders dies so easily work together to create beautiful and unique cards.

1. Cut/emboss two medium and two small flowers using white card stock.
2. Cut/emboss one medium and one small flower in yellow card stock.
3. Cut/emboss three medium circles using yellow card stock.
4. Cut/emboss three medium and three small leaves using green card stock.
5. Using the Die as a stencil, sponge inside the petals using Dandelion ink and a Foam Applicator.
6. Glue the dots into the centre of the flowers

7. Cut/emboss one Framed Floral border using both the insert and the border Dies and patterned paper.
8. Lightly sand the border using a sanding block.

9. Cut/emboss one Framed Floral Card Front using patterned paper.
10. Adhere to a slightly larger pre-cut card base.
11. Adhere the border across the base of the card front using double sided tape.
12. Turn the card base over and trim off the excess.

13. Cut/emboss one Pierced Squares #3 #4 (#1 being the smallest) using white card stock.
14. Pop the Pierced Square onto the card front using3D Foam Squares.
15. Cut/emboss the image using the Victorian Garden Curved Square.
16. Pop up onto the Pierced Square using 3D Foam Squares.
17. Arrange the flowers above the filigree border, popping the small yellow flower onto the medium one using a 3D Foam Square.
18. Adhere the leaves around the flowers.
19. Add small white pearls along the filigree border and top corners of the card front/
Spellbinders Supplies:
- S2-280 Die D-Lites Daisy Etched Dies
- SKU: S4-524 Nestabilities Victorian Garden Curved Square Etched Dies
- S6-117Card Creator Framed Floral Card Front Celebrate the Day by Marisa Job Etched Dies
- SCD-008 Nestabilities Celebrations Pierced Squares Etched Dies
- PE-100 Platinum 6 Die Cutting and Embossing Machine - 6" Platform
- T-007 Foam Applicator - Circle for Tool 'n One
Other : Liquid Glue; Scrapbook Adhesives by 3L: E-Z Adhesive Runner, 3D Foam Squares; white, green and yellow card stock; Graphic 45: Secret Garden Collection; Want2Scrap: Baby Bling - White Pearls; Imagine Memento Ink in Dandelion, Sponge Daubers.
Thank you for your comments and all of the support you give me - you make blogging such an amazing place to be!! Your encouragement is such a blessing for me - it makes my day! God bless you!
{{{hugs}}} and happy crafting