}
Showing posts with label Stampendous. Show all posts

Thursday, October 13, 2016

Wishing you a Lovely Day

Hello friends,  I am sharing a floral card with you - very CAS (Clean and Simple) for me but I love this stamp set - Ranunculus Field by Stampendous.  We had beautiful Ranunculus in our garden a few years back and I was excited for those fabulous heads to open - I was looking out the window one morning to see my DD1 (who was a toddler then)  happily ripping the heads off them all - last time we planted them - but I do still love them!


The image has been stamped onto white cardstock using Imagine Memento Tuxedo Black Ink.  It has been coloured using Chameleon Pens.  A computer generated sentiment has been adhere across the stems using Scrapbook Adhesives by 3L E-Z Runner.    This has been layered onto yellow card cut slightly larger.  The layered image has been popped onto a pre-cut cardbase using Scrapbook Adhesives by 3L3D Foam Squares. 


This card is linked to:
Crafting By Designs - Add a sentiment
Inspiration Destination -  Always Anything Goes
WordArt Wednesdays - Anything Goes 
Crafty Sentiment Designs - Anything Goes
Retarte - Anything Goes  
Lemon Shortbread Challenge - Anything Goes
Digi Chooseday Challenge - Anything Goes

Take card friends and thank you for your comments and all of the support you give me - you make blogging such an amazing place to be!! Your encouragement is such a blessing for me - it makes my day! God bless you!

{{{Hugs}}} and happy creating
                            

Friday, May 6, 2016

Spellbinders Splatter Proof Tutorial

Hello friends - today I am sharing a Spellbinders Tutorial using some of the fabulous Dies designed by Seth Apter of The Altered Page.  I love these grungy Dies that make us look so arty without too much work on our part! LOL! You can see how easy it is as you follow along with this Tutorial.


Spellbinders Products:
Other: Liquid Glue; Scrapbook Adhesives by 3L: E-Z Adhesive Runner, 3D Foam Squares; Stampendous stamped sentiment;  Imagine Crafts 'featuring' Tsukineko: Radiant Neons in Electric Yellow, Electric Orange and Electric Pink; Memento Ink in ; patterned paper


1. Cut a 2 inch panel of patterned paper #1.
2, Adhere to the center of patterned paper #2.
3. Cut/emboss using the A2 Curved Matting Basics B #5 (#1 being the smallest).
4.Cut dark blue cardstock 4" x 10', scoring in the centre.
5. Cut/emboss using the A2 Curved Matting Basics B #6 (#1 being the smallest), making sure to keep the fold INSIDE the top of the Die Cutting Edge to form the card base.


6. Cut/emboss one (1) Circle with Holes and one (1) Circle with Splatter in Whirl White cardstock.
7. Cut a circle to back the Circle with Holes and sponge randomly with inks.
8. Adhere the inked circle to the Circle with Holes using liquid Glue.
9. Stamp the sentiment to the lower portion of the card using Blue Ink
10. Adhere the Splatter Circle above the sentiment using liquid glue.
11. Pop Circle with Holes up on the center of the Circle Splatter using 3D Foam Squares.
12. Adhere small Die Cuts from Circles with Holes randomly to the card front.

I hope you are inspired by this tutorial - to get your 'arty' on and great something a little different - but just as fabulous as you normally create, Thank you for your comments and all of the support you give me - you make blogging such an amazing place to be!! Your encouragement is such a blessing for me - it makes my day! God bless you!
{{{Hugs}}} and happy crafting

Monday, October 5, 2015

Be Original

Hello there - thank you for popping in for a visit.  Today I have an 'arty/mixed media' card to share with you - I had a lot of fun stamping, as well as playing with Dies - don't you just love it when you create for creating sake....you just start and see where it takes you...


For this card I used the fabulous A2 Modern Stationery Spellbinders® Nestabilities® Card Creator, for both the card base and the inked layer.  I have stamped the white layer using the Brush Strokes from the Spellbinders® Celebra’tions™ Line by Richard Garay.  This has been stamped using the  Imagine Crafts ‘featuring’ Tsukineko Radiant Neon Inks in Electric Purple, Electric Orange and Electric Blue.  I have added random paint splotches using paint I had on hand - there are no limits with this.  The grid patterns is from Viva Las Viva Stamps

 The butterfly is from my stash and has been 'splothed' in the same manner as the white layer; with an orange button and a gem added to the centre.  The sentiment is by RubberMoon and has been stamped using  Imagine Crafts ‘featuring’ Tsukineko Memento Ink in Espresso Truffle.   Scrapbook Adhesives by 3L 3D Foam Squares and E-Z Runner have been used on this card. 

This card is linked to the following challenges:
613 Avenue Create - Anything goes or use Pink
That Craft Place - Mixed Media anything Goes
Simply Papercraft Challenge - Anything Goes
We Love 2 Create Anything Creative / Mixed Media/ Creative
2 Creative Chicks - Anything Goes
Petal Lu - Anything Goes
Art by Miran Challenge - Anything Goes

Thank you for your comments and all of the support you give me - you make blogging such an amazing place to be!! Your encouragement is such a blessing for me - it makes my day! God bless you!
{{{Hugs}}} and happy creating!

Thursday, March 26, 2015

Just a Note

Yesterday I posted a very quick tutorial showing how to use the new Spellbinders Debossed Sentiments - if you have not seen it you can find it HERE.  I said I would create a card using the sentiment and here it is...


I used paper from my stash, cut it size and stamped a Prima sentiment on it using Imagine Crafts 'featuring' Tsukineko Memento Luxe Pigment Ink in Rose Bud.
The Edges have also been sponged using Rose Bud.  This layer has been adhere to the card base using Scrapbook Adhesives by 3L 3D Foam Squares.
Next the feather image has been stamped onto white cardstock and fussy cut/hand cut, sponged using Imagine Crafts 'featuring' Tsukineko Memento Luxe Pigment Ink in Rose Bud and Radiant Neon in Electric Yellow.  
The feather is popped up on Scrapbook Adhesives by 3L 3D Foam Squares for dimension. 


Adhere the Spellbinders Sentiment 6 across raised feather using liquid glue


Randomly add  Imagine Crafts 'featuring' Tsukineko irRESISTible Neon Pico Embellisher in Electric Yellow.


This card is for the following challenges:
Crafter's Cafe -  Spring Flowers
Crafty Gals Corner - Anything Goes
Inspiration Destination - Always Anything Goes
Simon Says Stamp - Anything Goes
Whimsy Inspiration - Use A Die Cut
WordArt Wednesdays - Anything Goes
Deep Ocean Challenge - Easter / Spring (spring colours)
Card Mania - Spring (colours)
Love to Scrap - Anything Goes
Whoopsi Daisy - Add a Sentiment

Thank you for your comments and all of the support you give me - you make blogging such an amazing place to be!! Your encouragement is such a blessing for me - it makes my day! God bless you!

{{{Hugs}}}
Follow on Bloglovin

Monday, February 23, 2015

Par Avion

I am sharing a card I was asked to made as a Bon Voyage for one of the ladies at the shop that sells my cards - her Mum was going on a trip - and Paris was one of her stops.


The Eiffel Tower has been cut/embossed, sanded and  IMAGINECrafts®/Tsukineko® Delicata Ink in Golden Glitz and a Sponge Dauber for a lovely metallic look.


The addition of layered flowers, vintage buttons and Want2Scrap© -  Swirls Finesse add to the beautiful feel of this project


I have used  Scrapbook by Adhesives by 3L - 3D Foam Squares for dimension ,and E-Z Runner on this card, along with bits and pieces that are laying on my desk - on a continuous basis! LOL!


This card is for the following challenges:
Crafting from the Heart - Always Anything Goes
Crafty Boots - Use a Sentiment
My Craft Creations Always Anything Goes
Not Just Cards -  Always Anything Goes
The Paper Nest Dolls Challenge - Always Anything Goes
The Sisters of Craft - Anything Goes


Thank you for your comments and all of the support you give me - you make blogging such an amazing place to be!! Your encouragement is such a blessing for me - it makes my day! God bless you!

{{{Hugs}}}
Follow on Bloglovin

Thursday, January 15, 2015

Follow Your Art

It is always fun to so something 'out of  the norm' - I love playing with inks and sprays, texture and all things creative.....how about you!?!


I have played with a stamp set from Stampendous - 'follow your art' - such a great sentiment - and we are all trying to do that in one form or another - right! 


I have stamped the image using  IMAGINECrafts®/Tsukineko® Memento™ Dye Ink in Tuxedo Black and coloured it using Memento Markers, along with a white art pen for highlighting.

This is followed by IMAGINECrafts® Fireworks!™ Craft Spray in Desert Sand, Peanut Brittle, Danube Blue.  I have also added drops of IMAGINECrafts® irRESISTibles Texture Sprays.


The background layer has been embossed using the Fabric Weave Celebra'tions™ 3D embossing folder. This has been run through the Grand Calibur Die Cutting and Embossing Machine and lightly sanded to add an aged look. 

 NOTE:  The sandwich for Celebra’tions 3D embossing folders in Spellbinders™ Grand Calibur® Die Cutting and Embossing Machine (stack from bottom up): B-Pink Embossing Plate, 3D Embossing Folder with Media Inside and D-Raspberry Adapter Plate.


This card is for the following challenges:
Baffies Kreativladen - Anything goes
Crafting By Designs - Month long Anything Goes
Inspiration Destination -  Always Anything goes
Word Art Wednesday Challenge - Anything Goes
Inspiration Destination Challenge - Anything Goes
Crafts 4 Eternity - Blue Tones
Crafting from the Heart - Anything Goes
Squigglefly - Anything Goes
PDE Linky Party - Blue and White
Whimsy Inspiration - Anything goes 
Pennys Paper Crafty - Anything Goes
Inky Chicks - Anything Goes

Thank you for your comments and all of the support you give me - you make blogging such an amazing place to be!! Your encouragement is such a blessing for me - it makes my day! God bless you!
{{{Hugs}}}
Follow on Bloglovin

Monday, December 8, 2014

Artist in Residence - Christmas Card Tutorial

I have a tutorial live as an Imagine Crafts Artists in Residence.  For today's Tutorial I am sharing a gorgeous Christmas Card using the Emboss Resist technique and Memento Inks - they are perfect for this technique.


I have also used some of my favourite  products including Spellbinders Dies,Want2Scrap bling and Scrapbook Adhesives by 3L - it doesn't get much better than this!

You can see the whole project and details by clicking HERE.  I would love you to pop over there and leave me a comment letting me know what you think - you know I love to see you!

Thank you for your comments and all of the support you give me - you make blogging such an amazing place to be!! Your encouragement is such a blessing for me - it makes my day! God bless you!

{{{Hugs}}}
Follow on Bloglovin

Thursday, September 4, 2014

Artist in Residence - Postcard from the Past

I am sharing a card as an Artist in Residence on the Imagine Crafts Blog...the theme is Travel - you can see my Step by Step Tutorial by clicking HERE.


Thank you for your comments and all of the support you give me - you make blogging such an amazing place to be!! Your encouragement is such a blessing for me - it makes my day! God bless you!
 
{{{Hugs}}}
Follow on Bloglovin

Friday, May 23, 2014

Imagine Crafts and Stampendous Blog Hop


***This post will stay at the top of my Blog until the Blog Hop
Please scroll down for newer posts***


Stampendous and Imagine Crafts Header


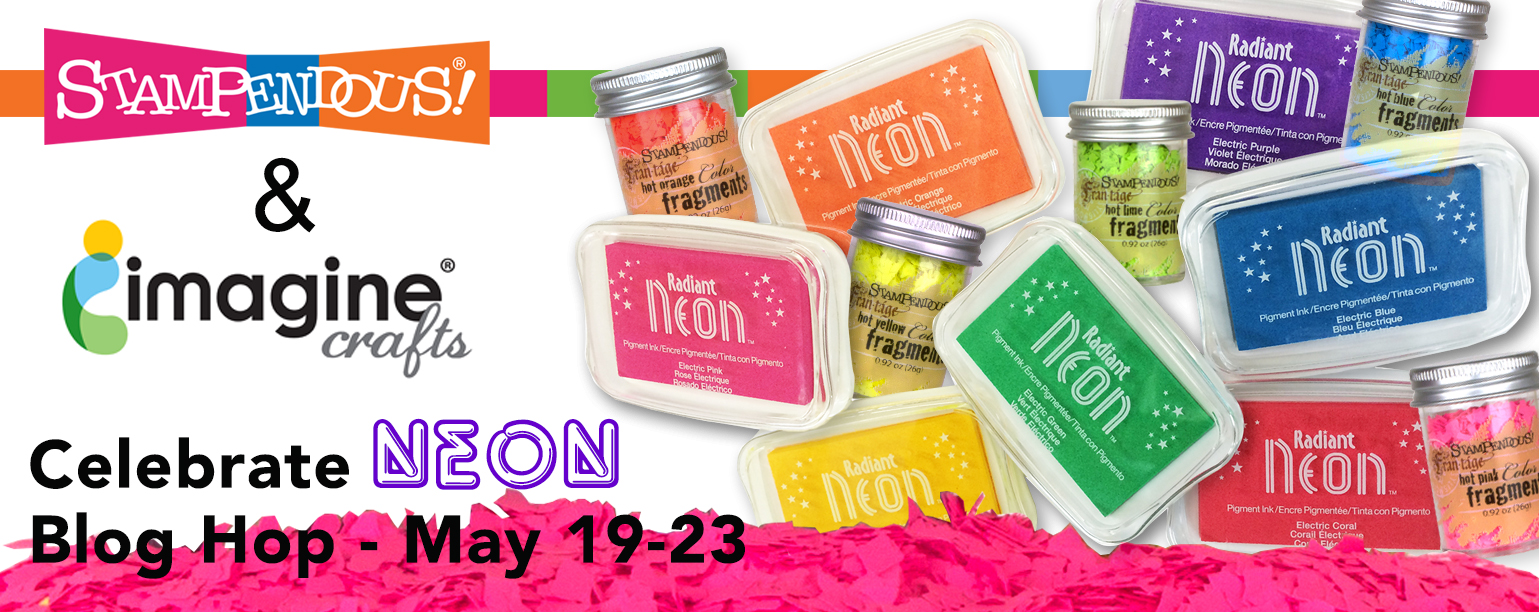
Welcome to a week of fantastic collaboration between IMAGINE Crafts and Stampendous! We have to admit that our two companies were made for each other and we're proud to have shared a long relationship of working together.  After all, what are stamps with out ink?  The projects created by our artists this week feature IMAGINE Crafts Radiant Neon™ inks paired perfectly with coordinating colors of Fran•táge Color Fragments from Stampendous, along with some of their newest stamp designs and Stack Art kits.

Prizes galore for participating in the Blog Hop this week!


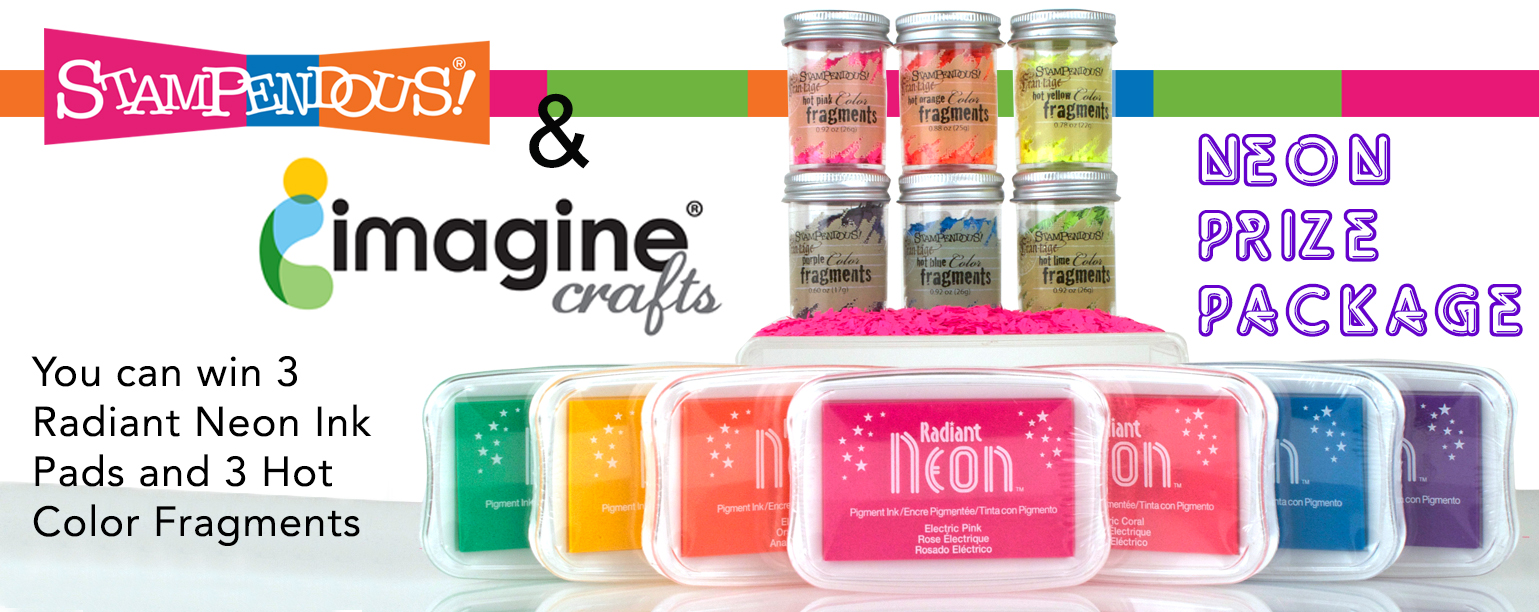
We'll be giving three prize packages of 3 Radiant Neon inks and 3 Fran•táge Color Fragments (we'll choose your colors). There will be a bright crafting future ahead of you!  Each day we’ll post that day's participating artists.  Visit their blog and leave a comment by midnight PST May 25th.  We ‘ll randomly select three different blogs from the five days, then randomly draw one commenter from each blog. You must have a U.S. mailing address to win, but we’d love for everyone to hop and comment! You can check out the Official Rules for all our contests if you have questions. So are you ready for some exciting inspiration? Here's who is hopping today:

Kristine Reynolds

Isha Gupta

Tobi Crawford

Penny Ward

Janelle Stollfus

Linda Lucas

Tina McDonald

***Blog Hop Hint – if you click on a link that takes you to a page saying something like, “Sorry this page cannot be found,” just click on the header at the top of the blog (usually a picture, or the blog’s name), and it will take you to that blog’s most recent post. That post *should* be our hop. If not, you can probably scroll down a short way to find the hop post.


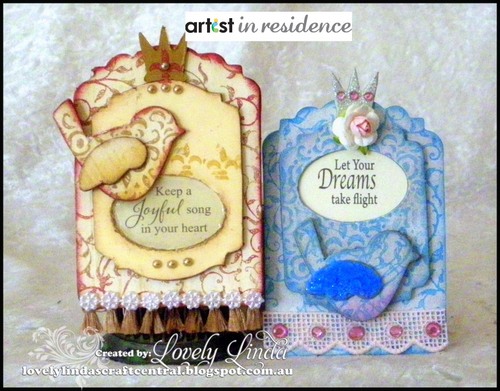
Supplies:
  • IMAGINE Crafts/Tsukineko: Radiant Neon Pigment Ink in Electric Blue; Craft Mat; Memento Luxe™ Mixed Media Pigment Ink in Wedding Dress; Sponge Daubers™
  • Stampendous -
  • Want2Scrap: 72 Count - Pink Rhinestones - Self Adhesive
  • Other: Scrapbook Adhesives by 3L E-Z Runner, 3D Foam Squares, Pink Lace, Paper Rose, Kindy Glitz/Liquid Glue, Liquid Glue
Method:


Step 1. Using Wedding Dress and a Sponge Dauber, ink the Chipboard on the front and edges

2014-04-022 2014_May_LL_Stampendous_Step 2

Step 2. Using Electric Blue stamp the chipboard using the
Step 3. Use a sponge Dauber and Electric Blue and sponge around the edges of the bird and wing.

2014-04-023 AIR_ 2014_May_LL_Stampendous_Step 3

Step 4. Adhere matching adhesive shape to the wing and cover with  Blue Color Fragments
Step 5. Apply liquid glue and add more Fragments, apply a little pressure to ensure they stick.
Step 6. Adhere the wing to the bird using liquid glue

2014-04-024 AIR_ 2014_May_LL_Stampendous_Step 4

Step 7. Cut out sentiment from the sheet
Step 8. Adhere to the back of the oval cut out
Step 9. Adhere the larger stamped chipboard
Step 10. Adhere lace to the lower portion of the large chipboard

2014-04-025 AIR_ 2014_May_LL_Stampendous_Step 5

Step 11. Attach the bird under the sentiment using liquid glue
Step 12. Cover the crown with liquid glitter
Step 13. Adhere paper rose using liquid glue
Step 14. Adhere bling to the crown and along the lace.

AIR 2014_May_LL_Stampendous_Main_Brown x2 wm

I make sure you leave your comment below so that you can be entered into the contest for the great prize package.

Thank you for your comments and all of the support you give me - you make blogging such an amazing place to be!! Your encouragement is such a blessing for me - it makes my day! God bless you!

{{{Hugs}}}
Follow on Bloglovin